Looking Further
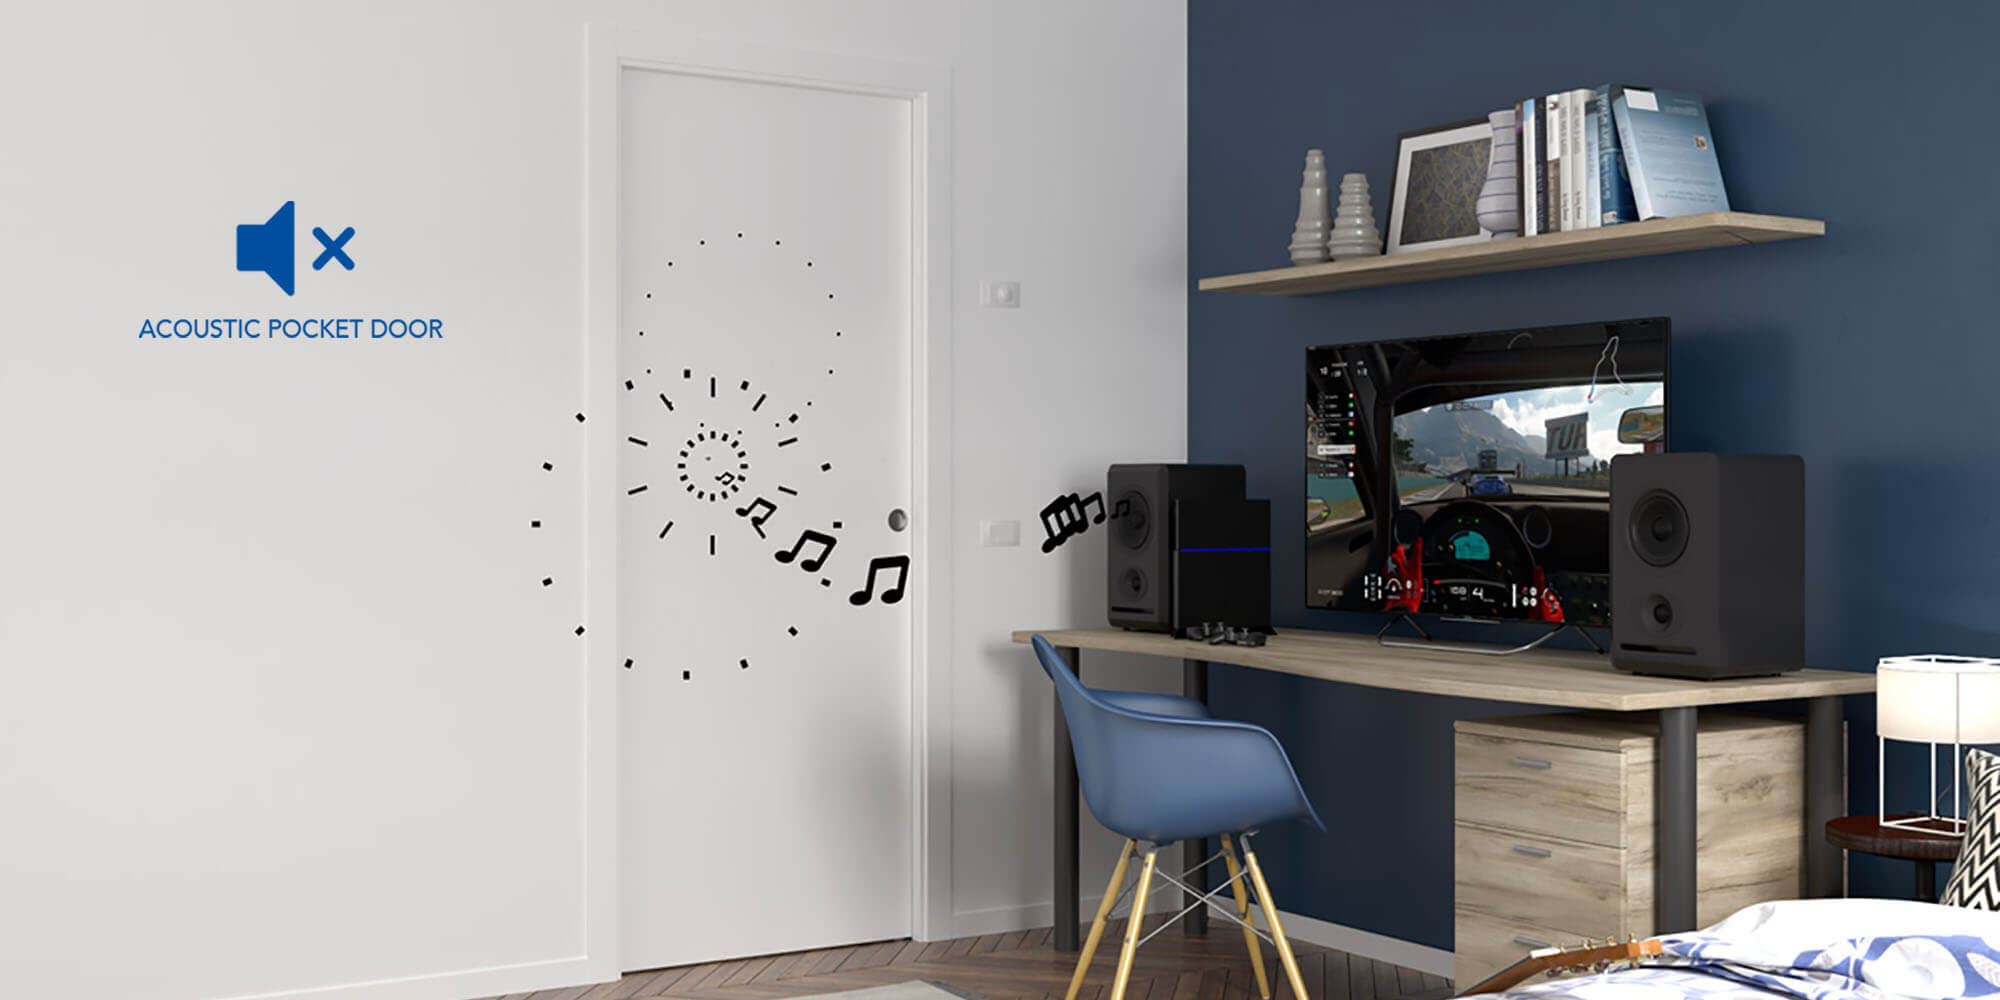
Room for silence
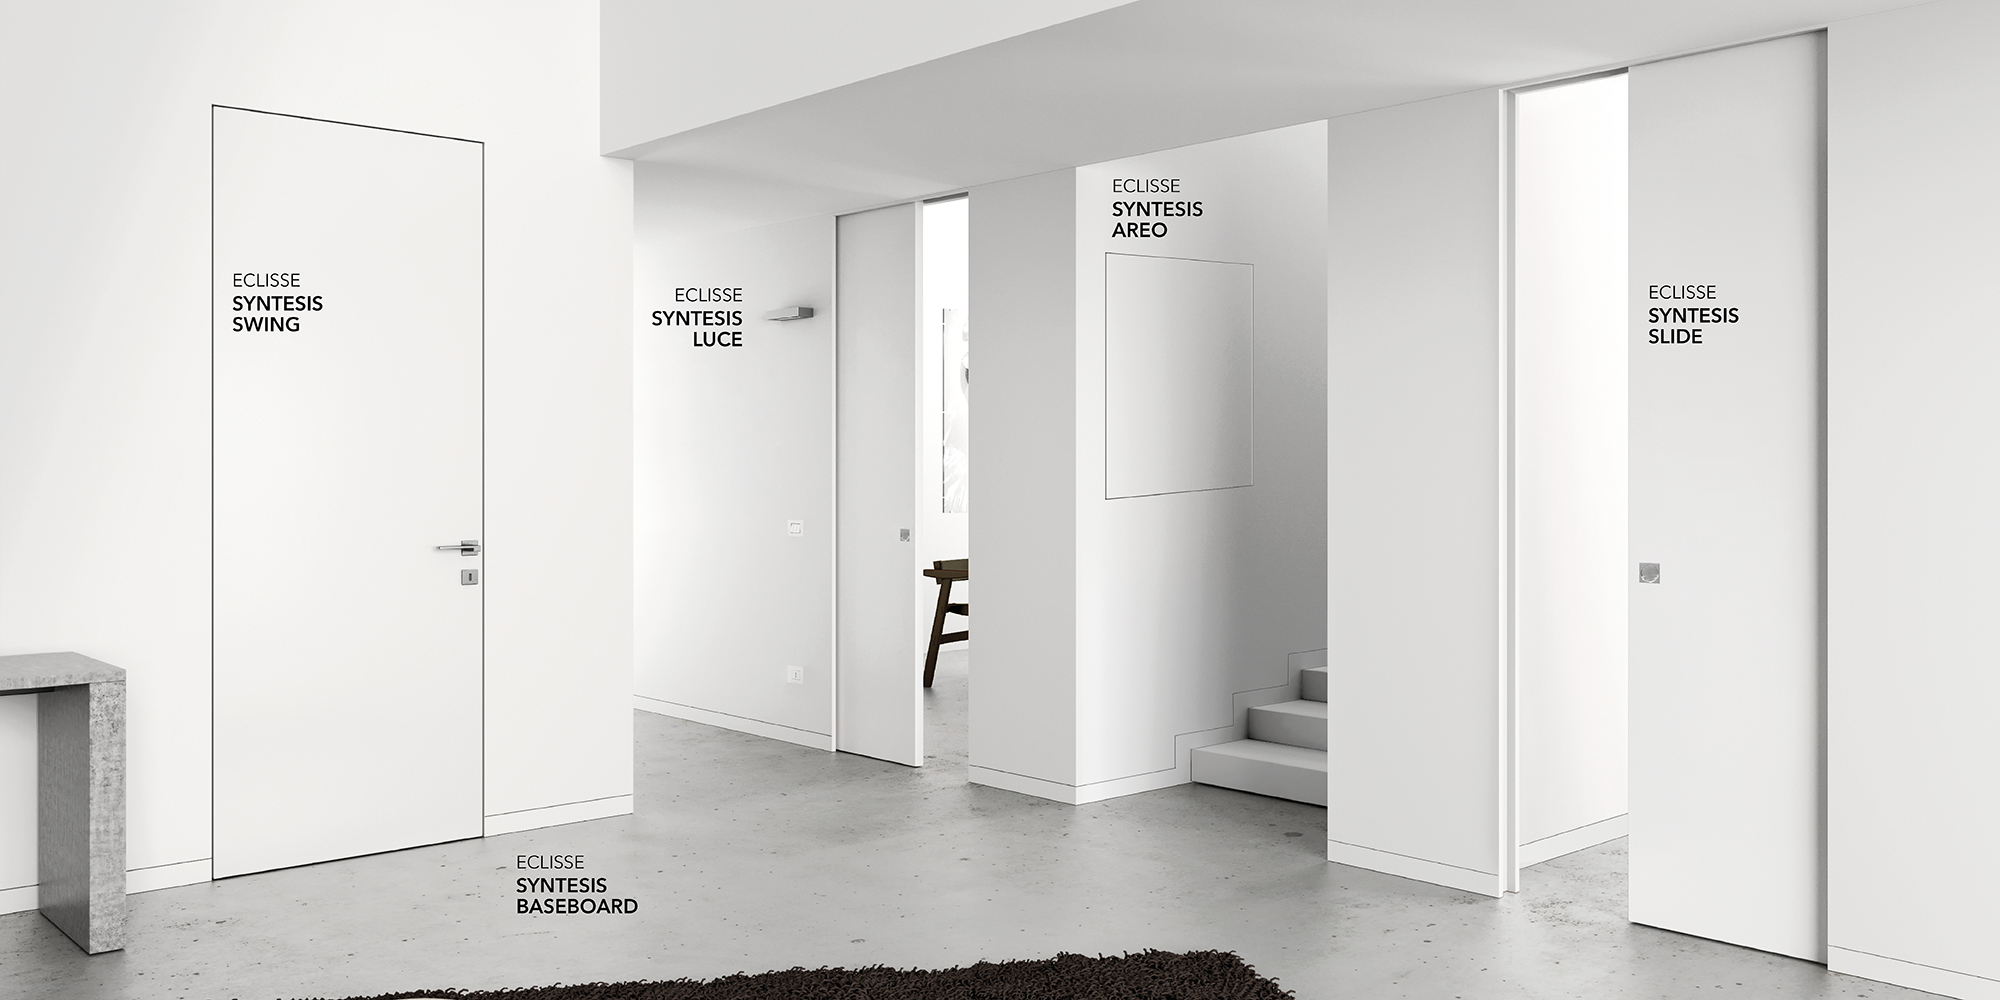
What do you see?
Pocket door hardware
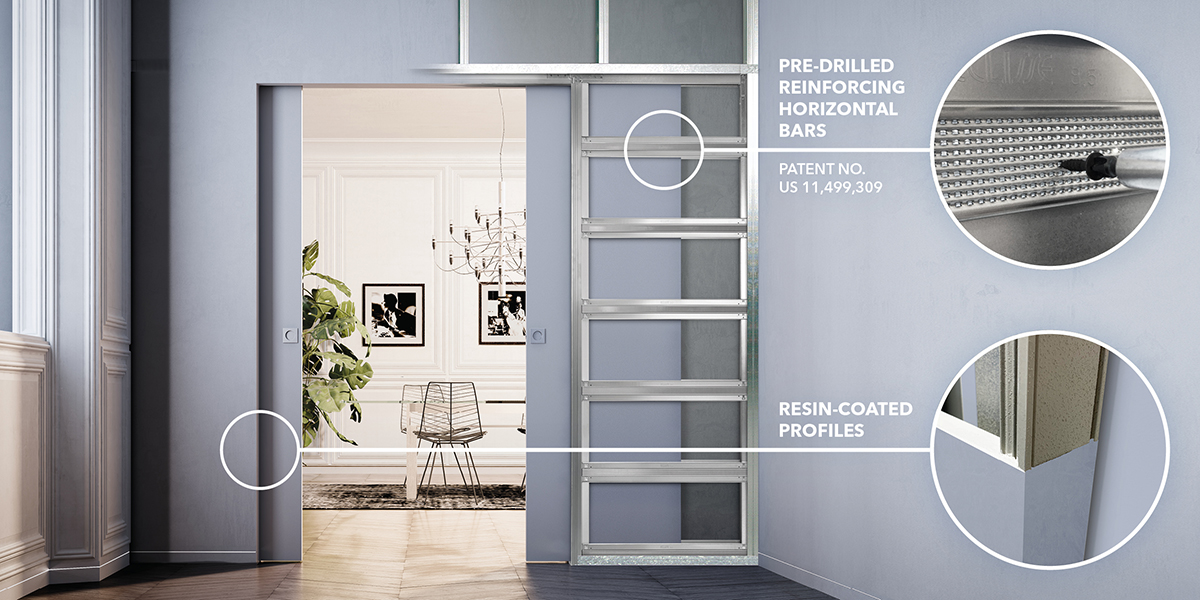
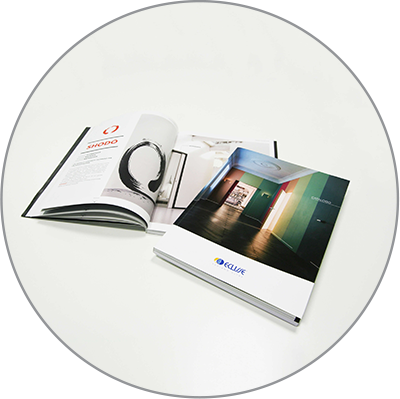
Details that make a difference
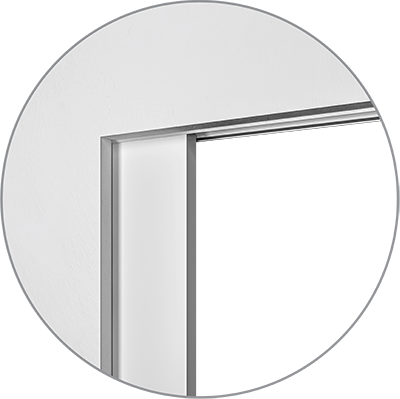
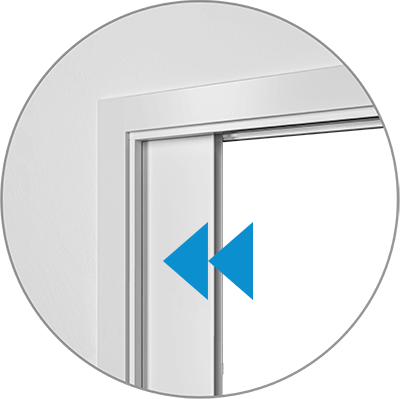
The resin-coated profiles of Syntesis pocket doors and the pre-drilled reinforcing horizontal bars (Patented No. US 11,499,309 - Patented No. US 11,761,202) of all our frames are just a couple of the innovations that make our products unique.
Projects
Since 1989, ECLISSE has been designing and manufacturing sliding pocket door systems, flush hinged doors, wall panels, trapdoors and accessories for private and commercial use.
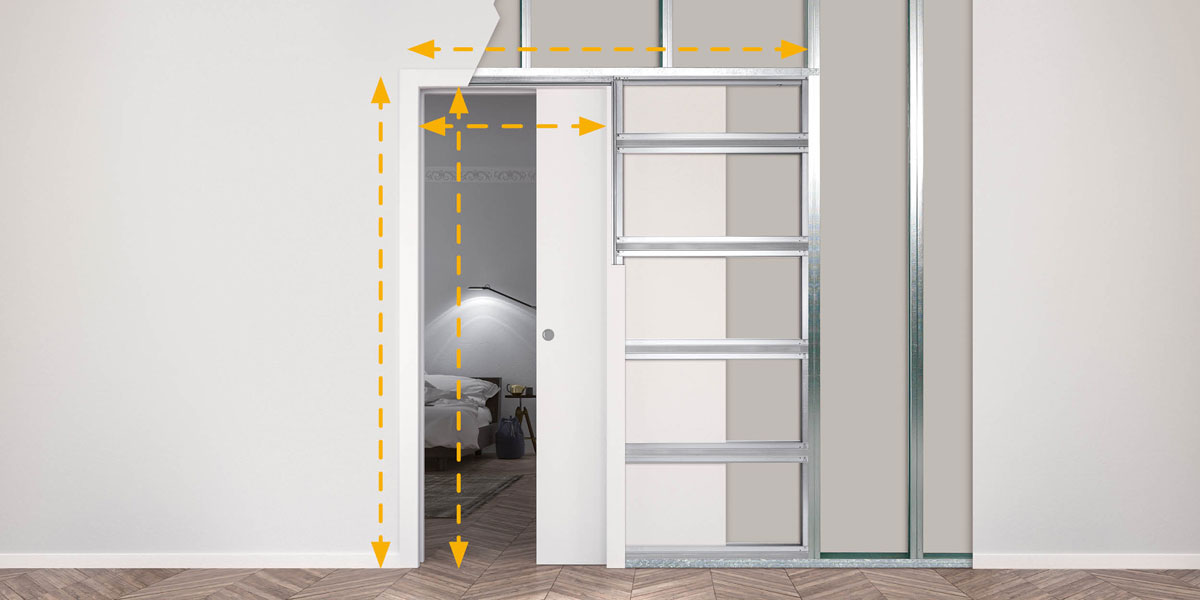
Choose the right size
We offer a wide range of solutions for sliding and hinged doors.
To help you navigate and find the right solution for your project, here you will find a handy guide to learn how to how to calculate the correct size of your frame.
ECLISSE, 30+ years of daily innovation
Innovation is expressed in little things, very often it is invisible but it is always very concrete, it translates into a practical advantage for designers, installers and end users. Innovation for ECLISSE has these characteristics, it comes from daily work, from the ingenious idea of the frame, a metal structure that solves space problems, to the study of countless technical details that have allowed us to develop exclusive solutions to meet every space and need.
It is not easy to show something that must be hidden, it is not easy to give value to an element that disappears, to make people perceive how much technology and innovation is behind a system that cannot be seen. We need to tell the details that make the difference, we need to show designs and realizations that describe the versatility and flexibility of our solutions.
But above all, it is necessary to know how to solve problems, the real ones, the ones related to design, construction site, installation up to daily use today, tomorrow, always.
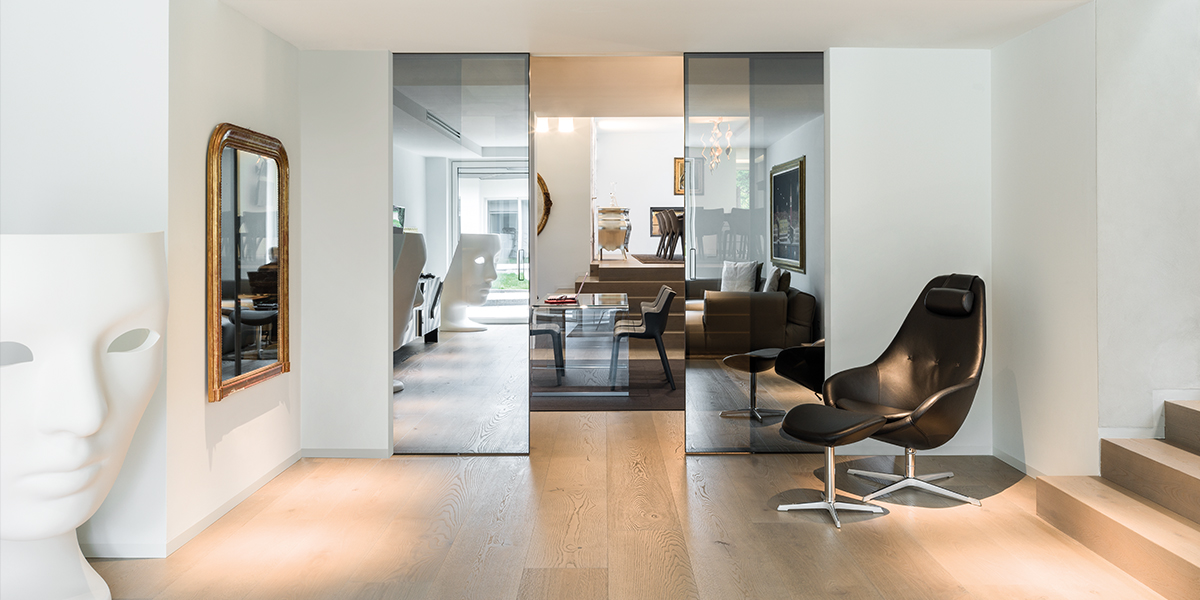
Since January 10, 1989, ECLISSE has been manufacturing frame for sliding pocket doors that allow the door to slide and disappear inside the wall. Thanks to the frame, the door does not create or encounter any obstacles when opening and is free to slide without occupying the space usually taken up by the opening of a hinged door. ECLISSE research has led to the development of frames for pocket doors specific to any construction system, both for masonry and plasterboard walls, and exclusive patents such as the Luce system, an idea that allows for switches and light points near the doorway.
Choose the best solution for you and find the dealer closest to your home.


